
Whenever I near the end of a project, my mind starts thinking about what I’m going to do next. As seems to be a recurring theme, I saw a picture on facebook of an old friend and his baby daughter whose nickname is ‘bearcub’. This inspired me to make her a bear of her very own. I searched the internet for a traditional teddy pattern and found one on Catrina crafts a lot.
I used the biscuit coloured Women’s Institute acrylic yarn I bought on my Christmas haul and used a size 4mm hook. The pattern called for stitching dc (sc US terms) in continuous rounds without joining, which is my favourite method of crocheting in the round. It’s so much easier and neater.
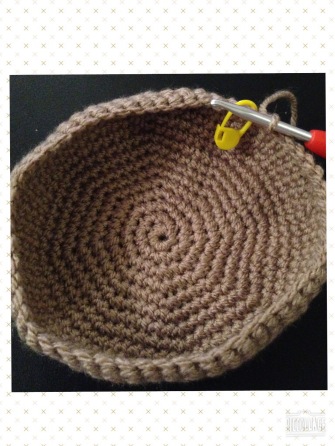
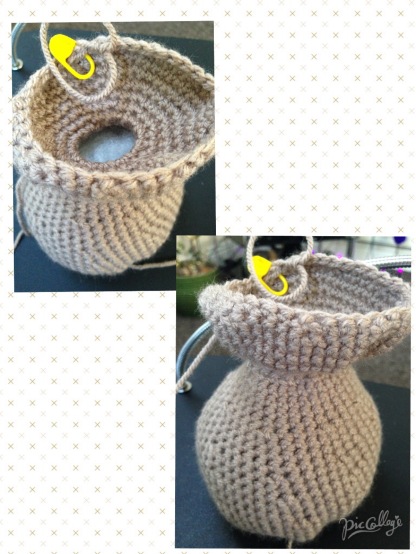
Shaping the bear is simply just a case of increasing a decreasing stitches until you have the shape of whatever you’re making. The bear’s body and head were stitched as one piece, with just the arms, legs and ears being crocheted separately to be attached later.
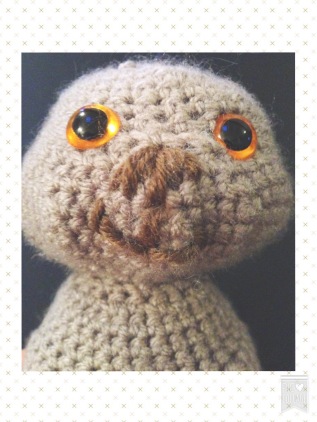
I’d bought some safety eyes from my local craft shop and embroidered a nose and mouth on with some scrap darker brown yarn.
Next step, as I’m sure you know, is my least favourite job of all…..sewing all the individual pieces together. Once it was all done, I thought it would be nice to make a little dress for her to wear. I made a foundation chain and attached the last stitch to the first stitch to make a big circle, i then stitched hdc into each stitch round and round, using stitch decreases to match the shape of her body. Once the dress was done, I made a few chain stitches to act as straps and popped it over her body. The dress is easily removable, so when the baby grows up, she can play dress up with her.
Here is the finished piece:
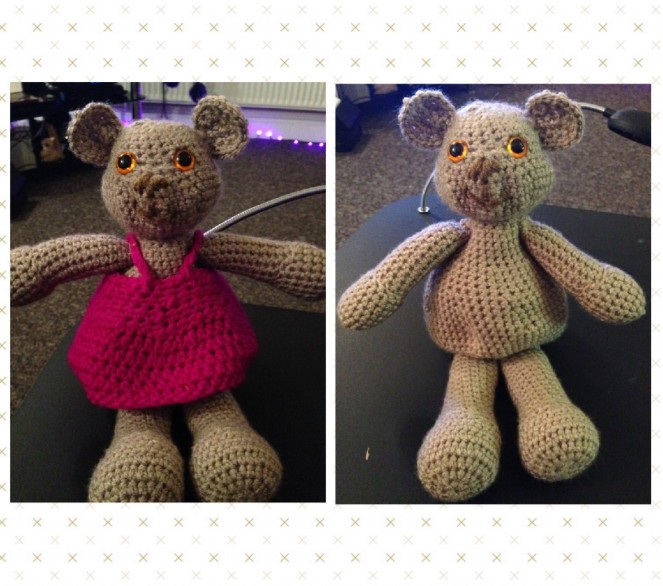
I actually found this pattern really easy to read and very easy to make. I can definitely recommend it for a beginner.
After posting a photo on Facebook, another friend asked me if I did commissions. I told her I could be easily persuaded depending on what she wanted, which was a panda. I thought this would be easy enough and put my faith in trusty old google to find me a pattern. I found one from Dolls Like Us that I liked the look of and set to work making it.
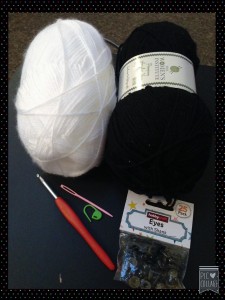
Again, I used the yarn I bought from my Christmas Haul and a size 4mm hook:
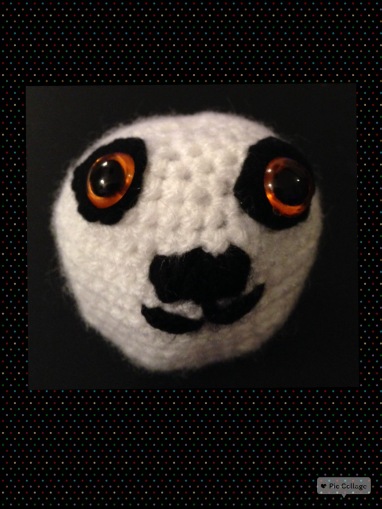
Again, the pattern was for continuous rounds without joining, but this time, the head, body, arms/legs, ears and circular tummy were all crocheted individually and sewn together at the end. I started off by making the head and attaching the eyes. I used some black felt for the black part of they eye, which in hindsight could have been done better if I’d have taken my time and made a template instead of making it up as I went along. I also embroidered what turned out to be quite a bad attempt at a nose and mouth:
Next was onto the 4 legs. They were all the same, but i threw in a ‘back loops only’ round to try and distinguish between the arms and legs, but I don’t think it made much difference.
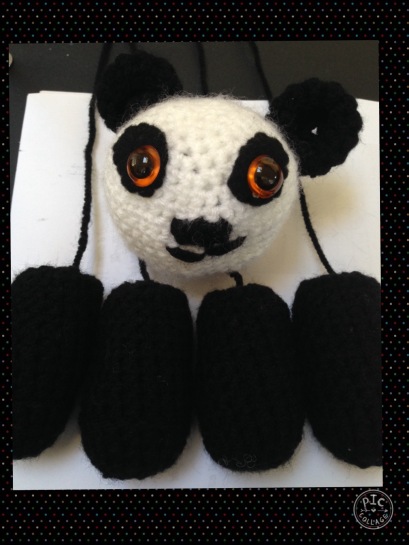
As you can see from the photo, I made the left ear using a magic loop and the right one by chaining two and 6dc into the first chain. This is why there is a small hole left in the centre of the right ear. My magic loops are getting better, but it was really, really tricky stitching with such dark yarn. I finished all the individual components and sewed them all together. Once I was done, I could see just how bad his face looked. It was so wonky, I couldn’t in good conscience give it away as a gift. I unpicked the stitching and tried again. It looked a lot better:
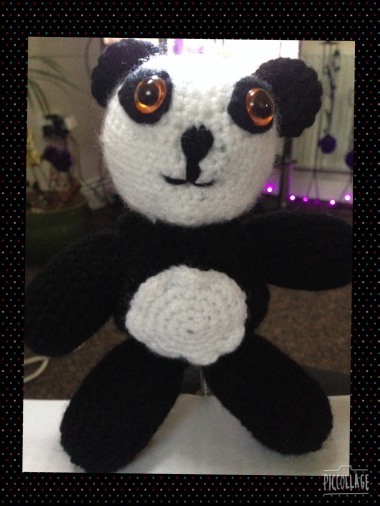
This little panda was probably the trickiest I’ve attempted. This is purely down to the fact I was using black yarn, which made it really difficult to see the individual stitches, so I had to do it in quite bright light in order to see properly. That being said, I think he turned out pretty well and I’m looking forward to sending him to his new home.
